Whole-house rendering
House rendering in Bradford
Rendering a whole house in Bradford usually means one of two things: renewing render on a house that was built or later finished in it, or rendering a brick or block house for the first time. Rendering a traditional stone house is a different decision, and Bradford Council’s conservation guidance advises against it. This page explains what the work involves on the houses where render belongs.

On this page
Which Bradford houses carry render
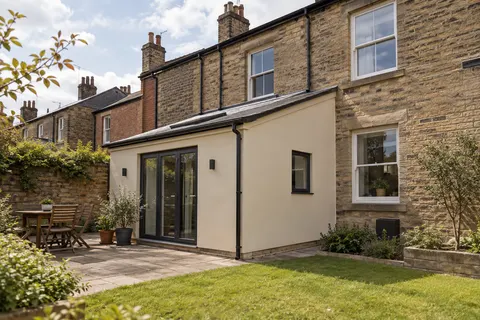
The council’s homeowner guide on render says that in the district’s conservation areas render is traditionally found only on buildings from the late 19th century and the first half of the 20th, chiefly in the Old English and Arts and Crafts styles. Usually only the upper storey is rendered over the stonework, sometimes inside a mock timber frame, and the render was traditionally limewashed white or finished as pebbledash or roughcast. Brick and blockwork houses and extensions are the other common candidates.
The council’s stone guide is just as direct about bare stone. It says the district’s stone buildings are traditionally bare, that painting or rendering stonework can harm a conservation area’s character, and that paint and render can damage stone by trapping water. If your house is sandstone, read the wall rendering page on stone walls before going further.
- Scaffold and protection Windows, doors, paths and planting are covered; downpipes, lights and satellite brackets come off.
- Old finish tested or removed Failed render is removed; the survey decides whether any sound areas can remain within the specified system.
- Masonry repairs and beads Cracked bricks and open joints are repaired; corner, stop and base beads are fixed.
- Base coats Sand-and-cement scratch and float coats, or a manufacturer basecoat with mesh.
- Finish coat A painted, scraped or thin-coat coloured finish, applied in suitable weather.
- Fittings and junctions Fittings are refixed through the new surface; sills, roofline and abutments are sealed.
The usual order of work. The survey and the chosen products decide the actual steps.
From old render to new, step by step
The first visit is a tap test of every elevation. The council’s render guide describes the method: tap the render, and if it gives a hollow sound it may be loose. Hollow, cracked and bulging areas are marked up. If they cover most of a wall, the render is stripped back to the brick or block; if the render is sound, it can sometimes stay as the background for a new finish.
After stripping, the bare wall is inspected and repaired: cracked bricks replaced, open joints repointed, rusting fixings pulled out and hollows filled in layers. Beads go on next, then the new render in coats, each keyed to take the next, finished to the agreed texture.
Scaffold all elevations and protect glazing, doors and paving.
Tap-test the render and mark hollow, cracked and sound areas.
Strip failed render; take down pipes, lights and brackets.
Repair brick or block, repoint and fill hollows in layers.
Fix bell-cast, corner and stop beads, keeping stone sills and heads clear.
Apply the base coat, mesh where specified, then the finish coat.
Cure under protection; refit fittings and clean splashes off the stone.
Keeping the stone details bare
Plenty of Bradford brick and rendered houses still have sandstone sills, heads and door surrounds. On a re-render, the render should stop on a bead against those stones instead of running over them, and the stones should be masked during spraying or painting. The council’s stone guide makes the underlying point: traditionally all stonework, including the window reveals, was left bare. Where earlier work smeared render or paint onto the stone, it is worth removing by a method that will not scar the surface.
Choosing the render
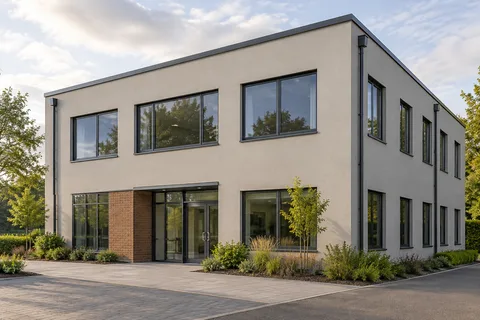
For a brick or block house the usual options are sand-and-cement render finished with masonry paint, a through-coloured render scraped to texture, or a thin-coat silicone finish on a mesh-reinforced base coat. For an Arts and Crafts upper storey over stone, the council’s render guide recommends traditional soft lime-based render applied in three coats and finished with limewash or oil paint. It warns against modern hard cement render, which is impermeable and harder than the stone behind it, so any water that gets in is trapped, and which cracks in cold or warm weather.
Edges, weather and upkeep
At the foot of the wall a bell-cast bead, fixed a little above the DPC, gives the render a straight finishing line and kicks rainwater away from the base. Sills need working drips. Gutters and downpipes should be repaired before rendering starts, because a leak soaks new render as fast as old. Render also needs dry, frost-free weather to cure: the K Mono data sheet, as one product example, rules out application below 5°C or when frost is forecast within 24 hours.
Once finished, wash off algae with a biocide and a soft brush rather than a pressure washer, and repair cracks before winter so frost cannot get behind them.
Common questions
Should I render my stone house to stop damp?
Bradford Council’s stone guidance warns that render and paint can trap water in stone and make damp worse. It points to rainwater goods, blocked gullies, open joints and cracks as sources of water to fix first. Render is not a waterproofing treatment for a stone wall.
See housing and planning information for Bradford and nearby places, including the source and geography behind each figure.