Rendered external wall insulation
External wall insulation in Bradford
External wall insulation (EWI) fixes insulation boards to the outside of a solid wall and finishes them with a mesh-reinforced render. It improves the wall without losing room space, but it adds depth to every elevation it covers. In Bradford, where the conservation areas are built predominantly of local sandstone, the first question is whether the wall is one that should be covered at all.

On this page
Stone walls and EWI
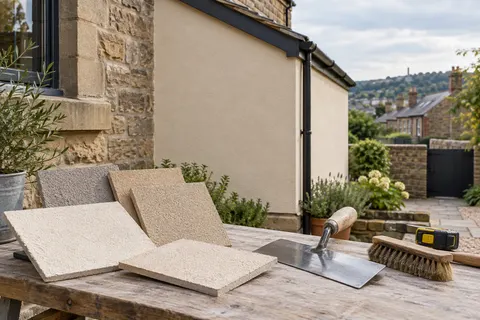
Bradford Council’s stone guide says the local carboniferous sandstone of Bradford and Airedale, and the gritstone of Wharfedale, are the predominant building materials in the district’s conservation areas, and that the stone buildings are traditionally bare. EWI on such a house hides the stone completely and, on one house in a terrace, steps its front out from its neighbours. Within a conservation area, render cladding needs a planning application because it falls outside permitted development, and Historic England cautions that insulating historic buildings externally can harm their character and detail.
- Existing wall Prepared; fittings removed and the base track fixed above ground level.
- Insulation boards Bonded with adhesive and, in most systems, mechanically fixed to the wall.
- Basecoat with mesh Reinforcement mesh embedded across the board joints and around openings.
- Primer Where the system requires it.
- Finish render A thin-coat finish that weatherproofs the insulation.
Wall on the left, finish on the right. Not to scale: coats, thicknesses and primers follow the chosen manufacturer’s system and the condition of the wall.
Walls where it makes more sense
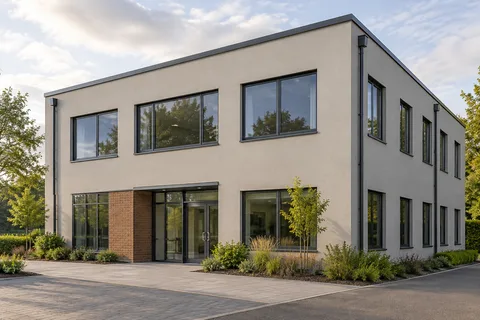
Solid brick or block houses and non-stone extensions may be candidates for EWI, especially when their render already needs renewing. An existing rendered finish does not, by itself, make insulation suitable: the extra depth can still obscure sills, eaves and architectural details. For dwellings in England, Approved Document L links thermal upgrades to renovation of more than 50% of an individual thermal element, or a major renovation affecting more than 25% of the external building envelope. Those are different area tests. Have the designer establish which surfaces count and what improvement is feasible before the insulation thickness and replacement finish are priced.
An already-rendered house still changes when insulation moves the wall face outwards. Sills, window reveals, eaves and decorative features need checking, even if the new surface looks similar to the old render. The work is easiest to justify when the old render has failed and would have to come off in any case: the stripping, the scaffold and the new render are needed whether or not insulation goes under it. Solid walls benefit most; a house with an open cavity is usually insulated a different way.
The build-up and installation
Working outwards, the boards are glued and pinned to the masonry, then covered in a base coat with alkali-resistant mesh across every board, then primed and finished with a thin render. In K Rend’s range, HP14 base coat is described as designed for insulating substrates including expanded polystyrene, phenolic and mineral wool, and as usable as the board adhesive with appropriate fixings; LW1, a lightweight through-coloured render, can be applied directly onto EWI substrates. How thick the boards are is a design decision, driven by the wall and the performance wanted.
Survey the wall: confirm it is suitable, dry and structurally sound.
Repair defects, clear gutters and fix any leaks first.
Remove pipes, meters, lights and signs; plan new sills and eaves.
Bond and mechanically fix the boards from the base detail upwards.
Apply the base coat with mesh, then primer and finish render.
Refit services on extended fixings; fit new sills and trims.
The details that move
With the wall face further out, window sills have to be extended or replaced so they keep a drip beyond the new face; the roof may need a longer overhang at eaves and verges to stay clear of the new face; rainwater pipes, gas and electricity meters, outside taps and lights go back on longer fixings. The reveals, the base of the wall and the junction with a neighbour’s uninsulated wall each need a designed detail. On a terrace, the step where one house’s insulation stops and the next house’s wall begins is visible from the street.
Moisture, consent and upkeep
Insulation covers whatever is behind it, so leaking gutters, cracked render and failed pointing are fixed first, and an older solid wall needs a system and design that let it dry. Approved Document L itself says walls of stone or lime render that take up and give off moisture should be upgraded only where the fabric will not deteriorate as a result. Listed building consent is required for alterations that affect the building’s special architectural or historic interest, whether the work is inside or outside. Once installed, keep the system documents, use fixings designed for the system for anything added later, and repair dents or punctures promptly so water cannot reach the boards.
Common questions
Can I insulate the back of my stone terrace and leave the front?
Rear elevations are sometimes less sensitive, but in a conservation area rendering over any elevation of a house still needs a planning application, and the risk of trapping water in stone applies on any elevation. Ask the council early.
How thick will my walls become?
It depends on the insulation chosen and the performance the design is aiming for; the boards are the thickest layer, with a few millimetres of base coat and render on top. Ask for the total depth at the window reveals and the eaves, because that is where the change shows.
See housing and planning information for Bradford and nearby places, including the source and geography behind each figure.